We’ve all heard the same things again and again when it comes to our skin: take care of it, don’t fall asleep with makeup on, and periodically let the professionals step in to take care of extractions and buffing out those fine lines and wrinkles. But what if cash is a little tight and you don’t have the extra to treat yourself to a professional facial? We’ve got you covered.
This week esthetician Victoria Fradette Perkins is talking at-home facials with us. She’s breaking down what to do step by step so you can achieve gorgeous, glowing skin right in the comfort of your own home.
Q: Take us through how to do an at-home facial.
A: So an at-home facial doesn’t have to be all bubbles and cucumbers on yours eyes. It doesn’t take as much time as you think. The key to a good facial is the exfoliation. These are the easy steps:
1. Cleanse – Here we are just washing away makeup, oil and dirt prepping the skin for all the goodness to come.
2. Exfoliate – This is a very important step to follow. It’s taking down built up skin cells to allow the mask to penetrate; you’re essentially removing dead skills cells. Here you can use a scrub, which is great for removing the top layer on the surface only. You could also use a peel for this step which is removing several layers. Exfoliating is a great and essential step to any facial but don’t get too carried away: Overdoing this step or scrubbing your skin too hard will strip your skin leaving it tight and unhealthy.
3. Mask – Here you can use a product based on what you are trying to achieve, whether it be hydration, toning & tightening or deep-cleansing. For the most part I leave mine on for 10 minutes. (Tip for busy gals: Try putting on the mask before you get in the shower and rinse when you’ve done your business. Trust me, it’s possible!)
4. Toner – Yup you guessed it! Now you’re closing your pores keeping all the magic inside.
5. Eye cream – Again toning and tightening that delicate area around the eyes is a must.
6. Serum – Now is the ideal time to penetrate those products into the skin.
7. Lotion/cream – The last step locks all of your products inside! Note: remember apply serum and lotion to neck area because it won’t forget you!
At home facials can be super easy and are very important to maintaining healthy, glowing skin. Be kind to your skin; the end goal is to be with it for a long time!
Q: How is doing an at-home facial different than our normal skincare routine we talked about last week?
A: So an at home facial differs because you’re treating the skin differently. You’re really exfoliating and targeting the skin for a specific need. A routine is maintaining the deeper work you’re doing during a facial.
Q: How often should we be doing an at-home facial?
A: I think it’s a good idea to do once a week or a week and a half if it’s hard to find the time. You’ll definitely see better results the more you keep up with it.
Q: Are there any special tools you need for an at-home facial?
A: Don’t stress your self out with this. I personally think a facecloth can replace a Clarisonic easily. Big name companies will try all kinds of marketing schemes to make you believe it’s a must have. If you do have a https://amzn.to/2yLLc39>Clarisonic they are a nice touch for exfoliation; but please don’t use these more than three times a week.
For masks that come in tubs or jars, I would suggest a brush. PLEASE DON’T double dip. If you are putting on your skin and then using it back in the jar you’re introducing bacteria into your product. This goes for your hands as well. Take your portion out of the jar with a brush, put on the back of your hand and go from there. If you don’t have a brush use clean hands and apply.
Q: I’ve gotten facials before where they use a steam machine on my face. Do you recommend this for at-home facials?
A: Some products require steam to activate the product. If this is the case simply apply and jump in the shower! Or take a pan of boiling water with essential oils with a towel over your head and relax for a few minutes.
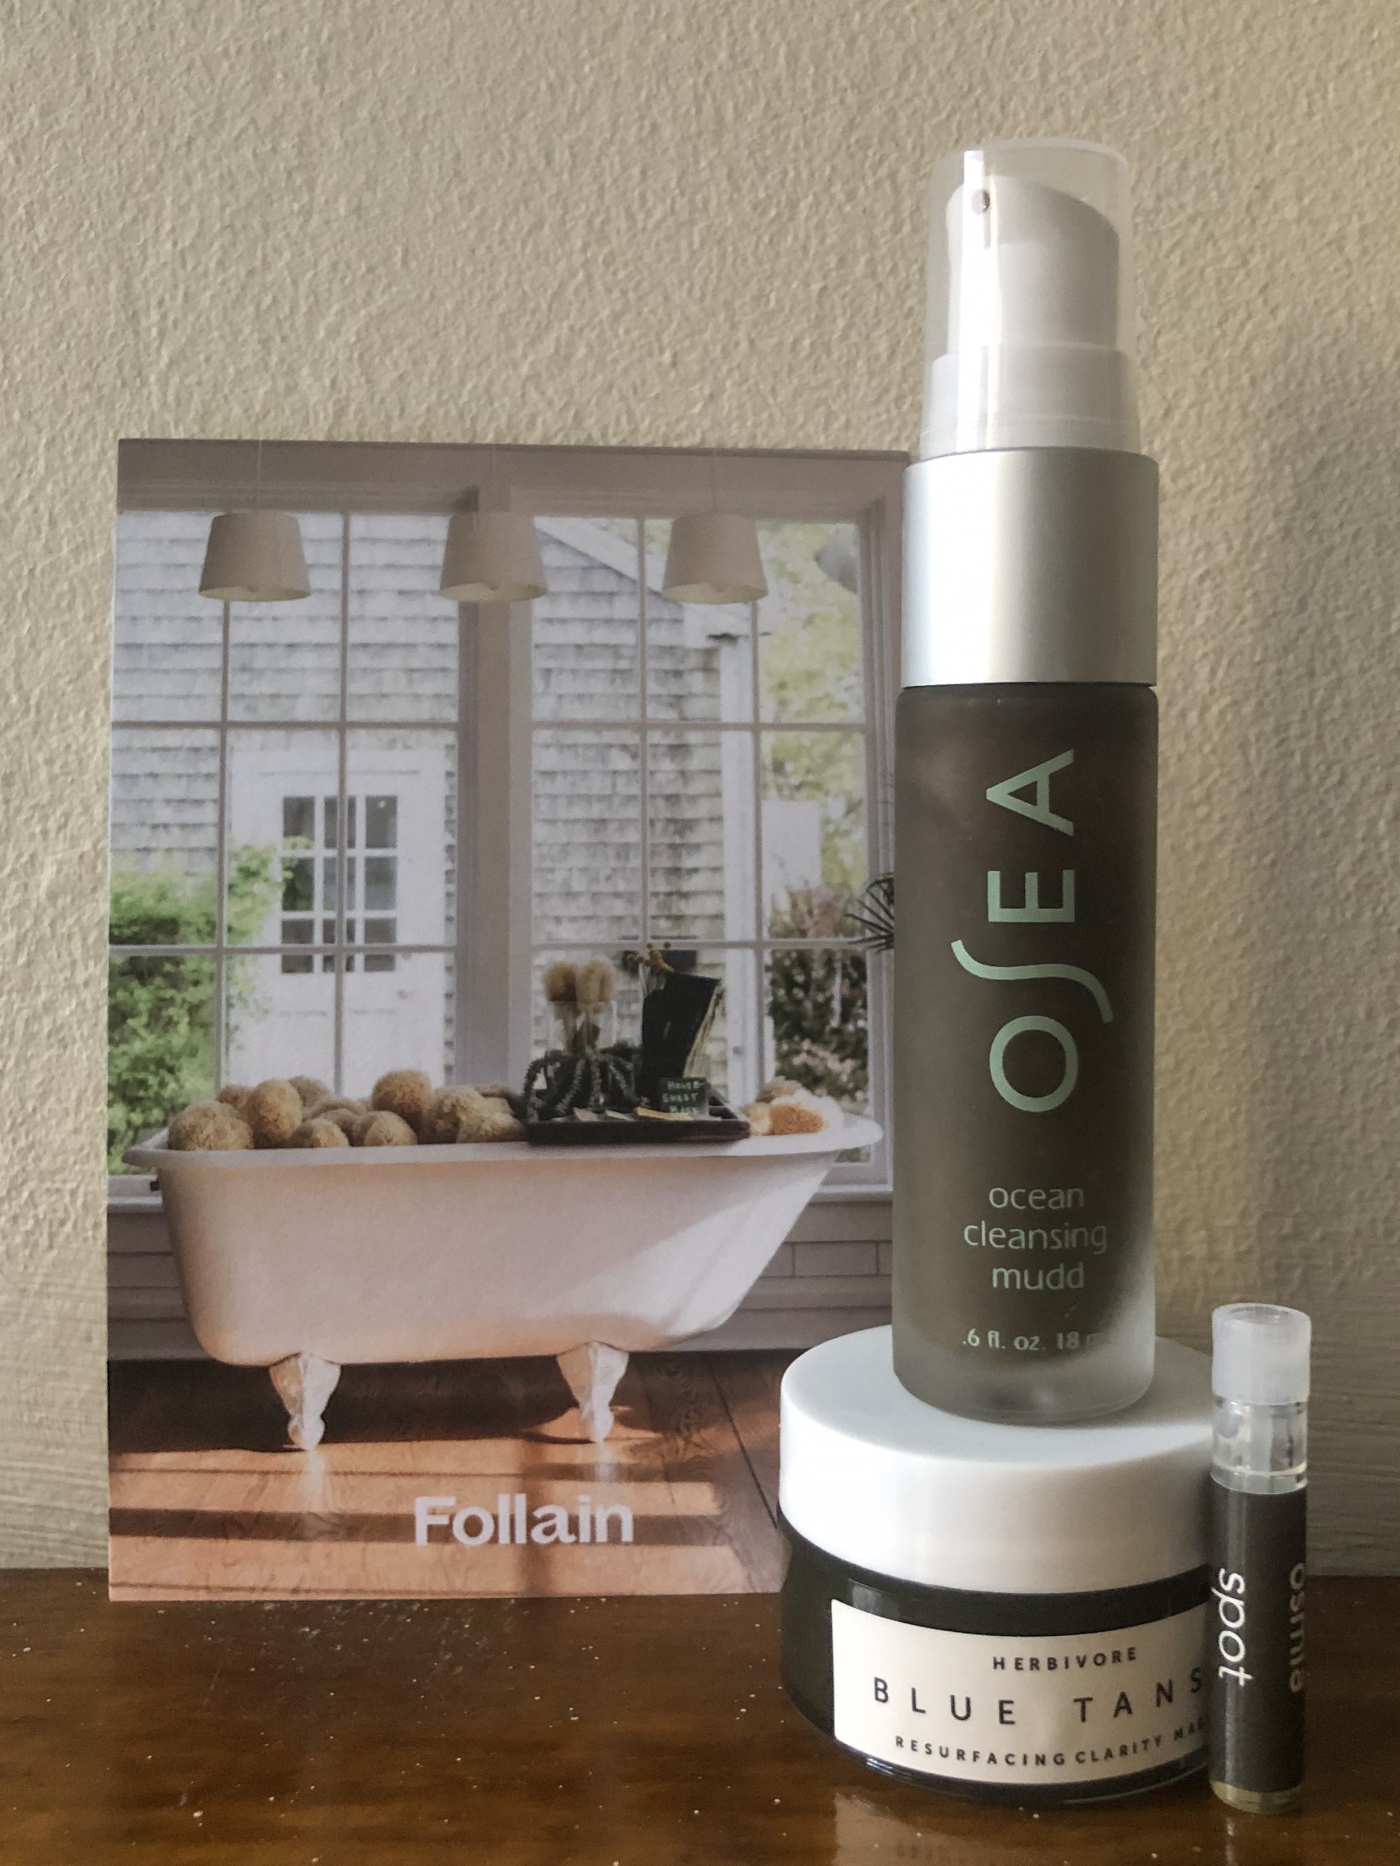
Victoria’s Picks For an At-Home Facial
Cleanser:

C’est Moi Gentle Foaming Cleansing Gel

ACURE Brilliantly Brightening Facial Scrub
Peel:

*I know this product says mask, but it’s really more of a peel. It’s using enzymes to break down all the gunk on your face and has a gel-like consistency. Masks are a bit thicker.
Mask:

Aztec Secret Indian Healing Clay
Mask Brush Applicator:

Toner:

Thayer’s Alcohol-free Unscented Witch Hazel Toner
Eye Cream:

Yes To Blueberries Age Refresh Eye Firming Treatment
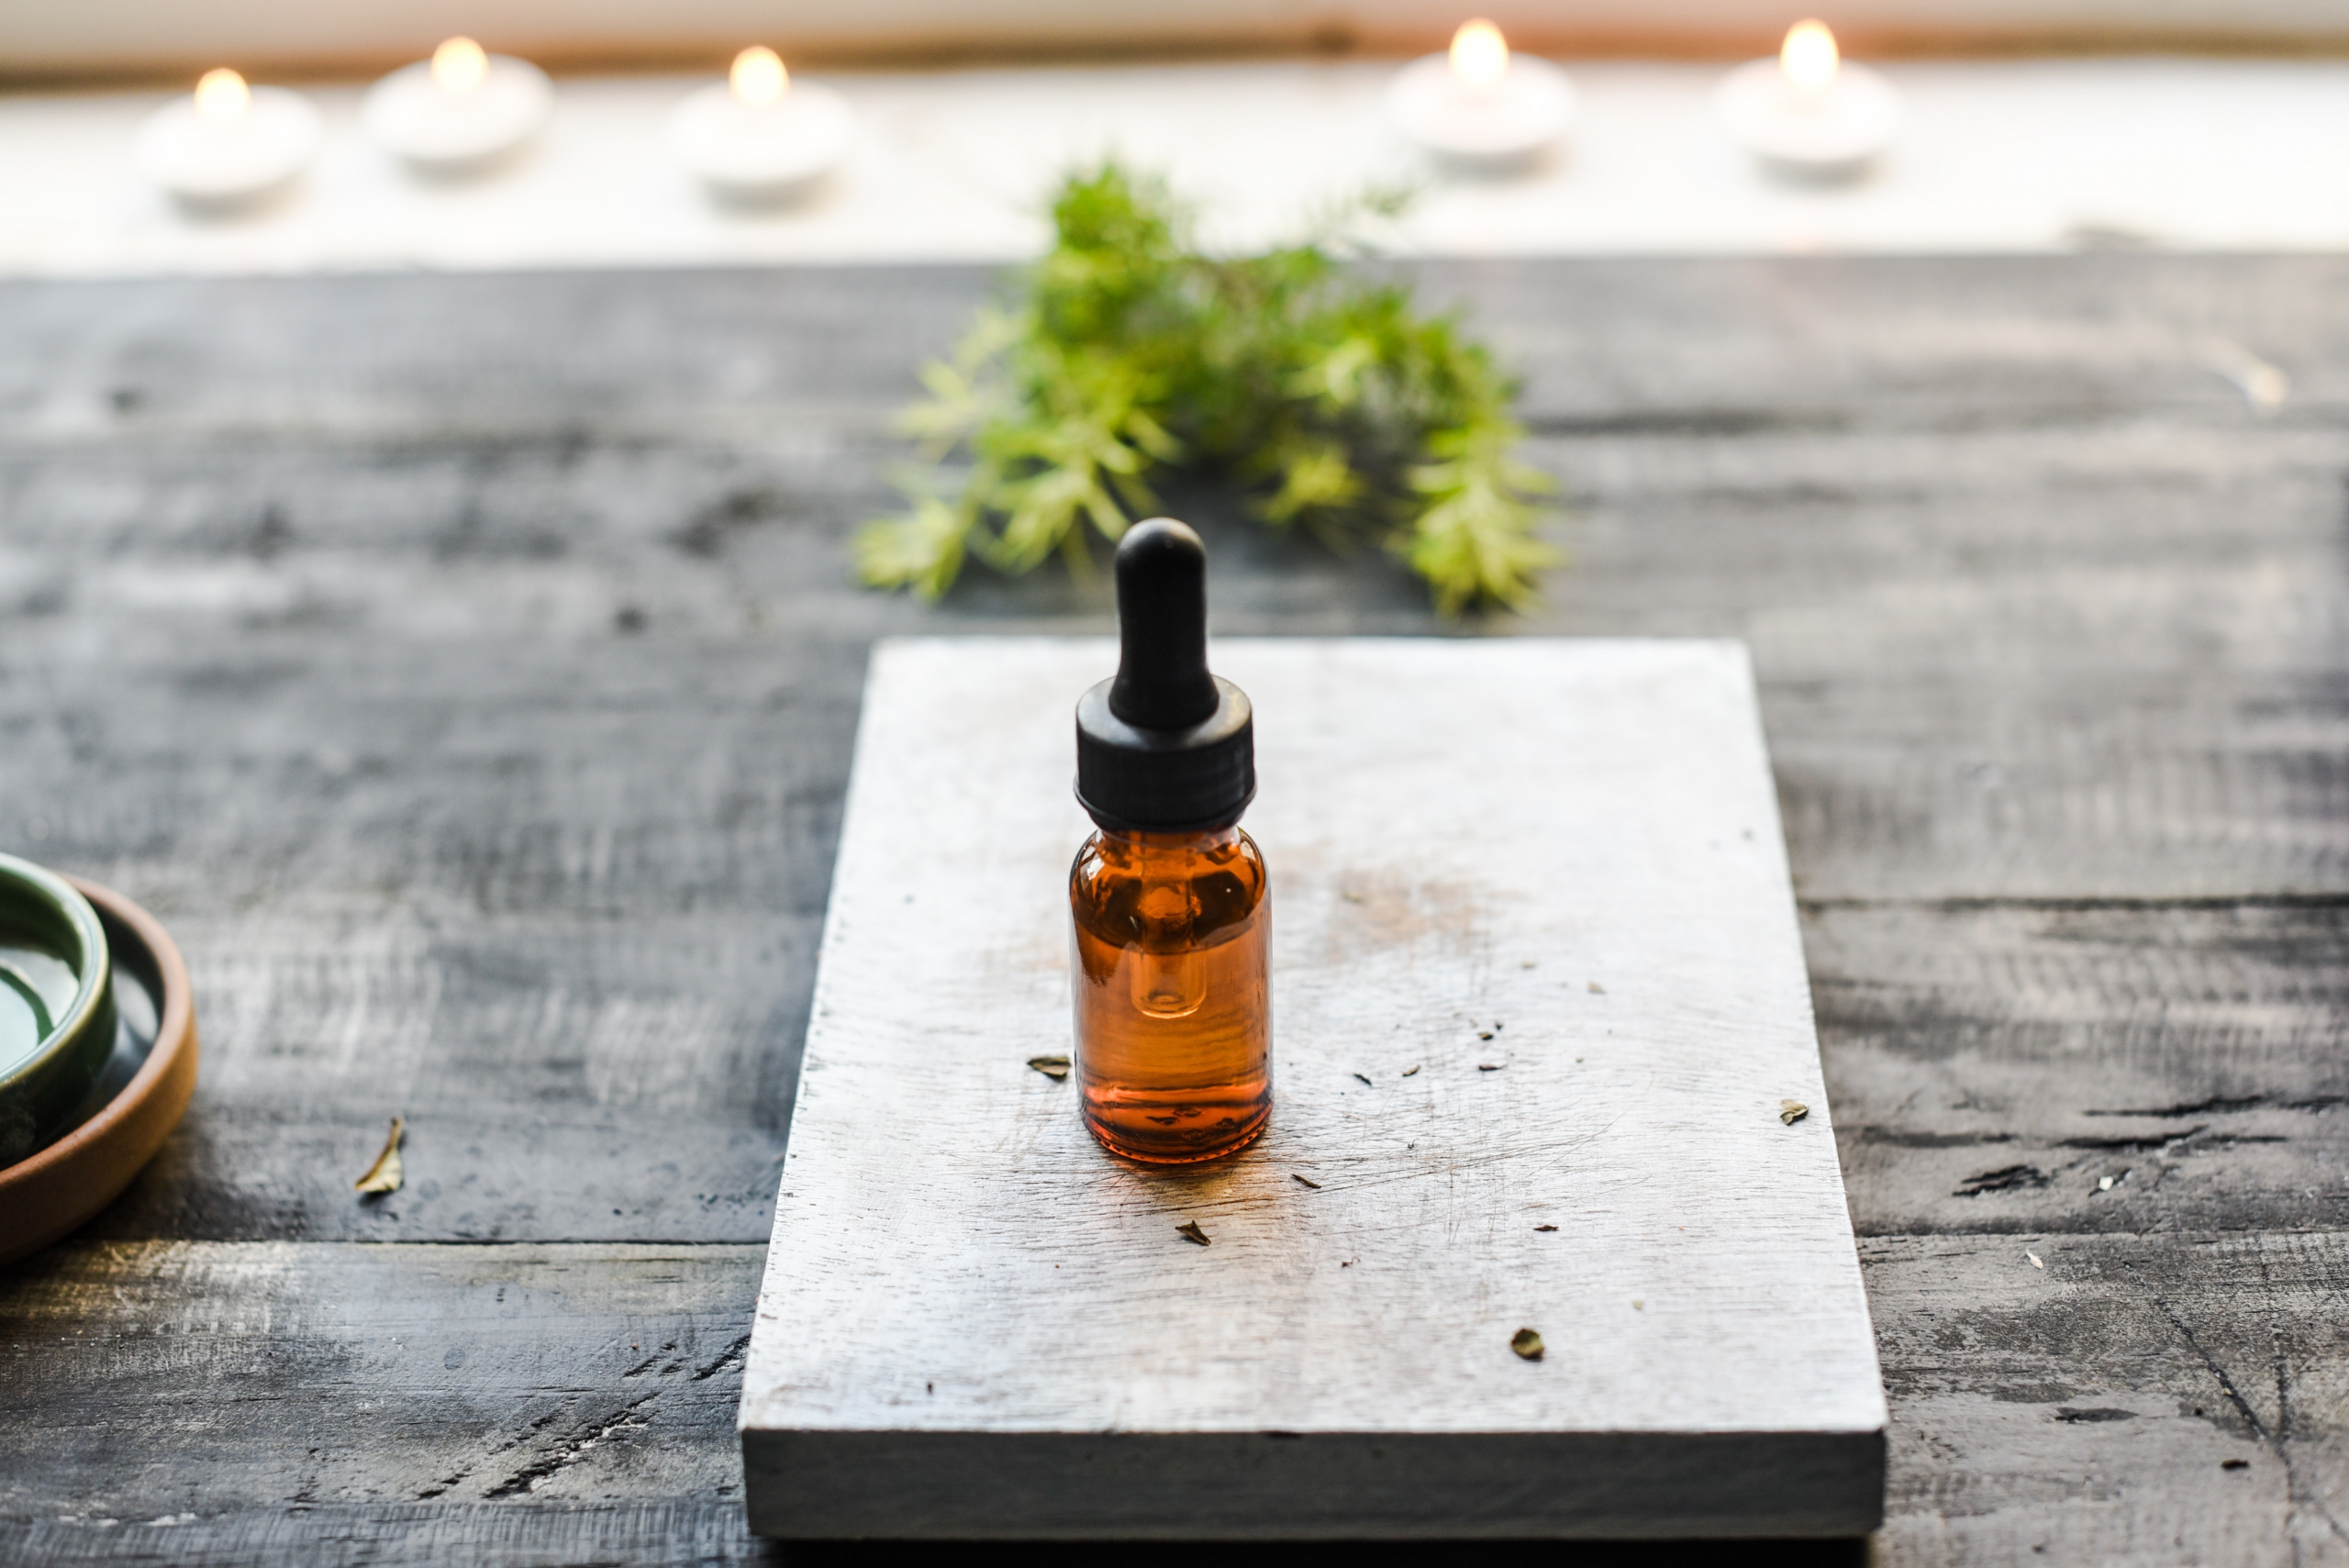
Serum:

Acure Brightening Glowing Serum

Ursa Major Natural Moisturizer with SPF 18
Do you have questions for Victoria? Let us know and we will answer them in a future series! And if you’re ever in Eastern Connecticut be sure to book a facial at The Spa at Norwich Inn with Victoria. The spa has been named “Best Destination Spa in New England” and “Best Day Spa in Connecticut”.
*A quick note! I’m part of the Amazon Associate network as well as other affiliate networks and I earn a percentage from qualifying purchases. Being part of these programs allows me to keep bringing you high quality content you can trust. Thanks!


Ask an Esthetician: How to do an at-home facial – Simple in the City article is very useful
and well researched.
This helped me a lot with my skin: http://bit.ly/clear-skin-in-just-7-days
🙂 Be beautiful, you deserve!
Pretty! Thiѕ waѕ a really wonderful article.
Many tһanks foг providing tһis informatiߋn.
Nice post. I learn something totally neww and challenging on websites I stumbleupon everyday.
It’s always helpful to read articles from otherr writers and practice something from other
sites.
This design is spectacular! You most certainly know how to
keep a reader amused. Between your wit and your videos, I was almost moved to start my own blog (well, almost…HaHa!) Great job.
I really enjoyed what you had to say, and more than that, how you presented it.
Too cool!
There is certainly a great deal to find out about this topic.
I like all the points you’ve made.
Very good information. Lucky me I found your blog by chance (stumbleupon).
I’ve saved as a favorite for later!
Some genuinely nice and utilitarian info on this website, as well I think the style and design has got good features.